Path where the device certificate is stored (per formatted)
AC_KeyPath
Path where the private key is stored
AC_CaPath
Path where the Ca-Certificate is stored
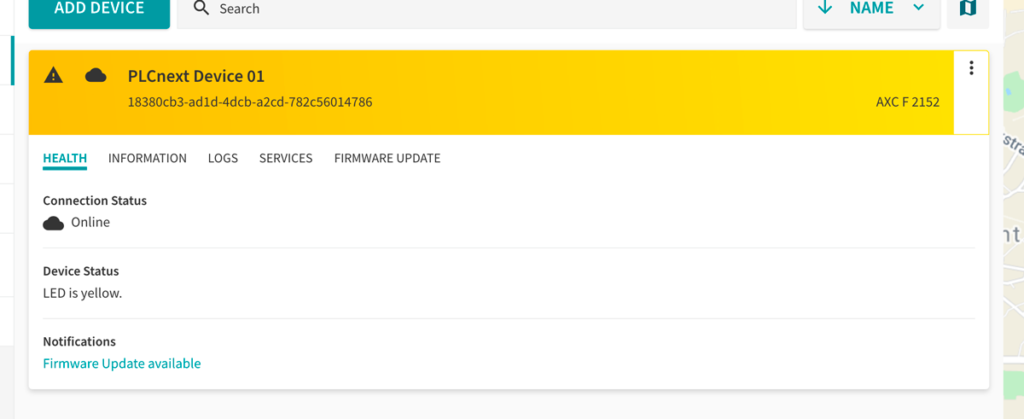
AC_DeviceID
Identifier of the device (choose your own one)
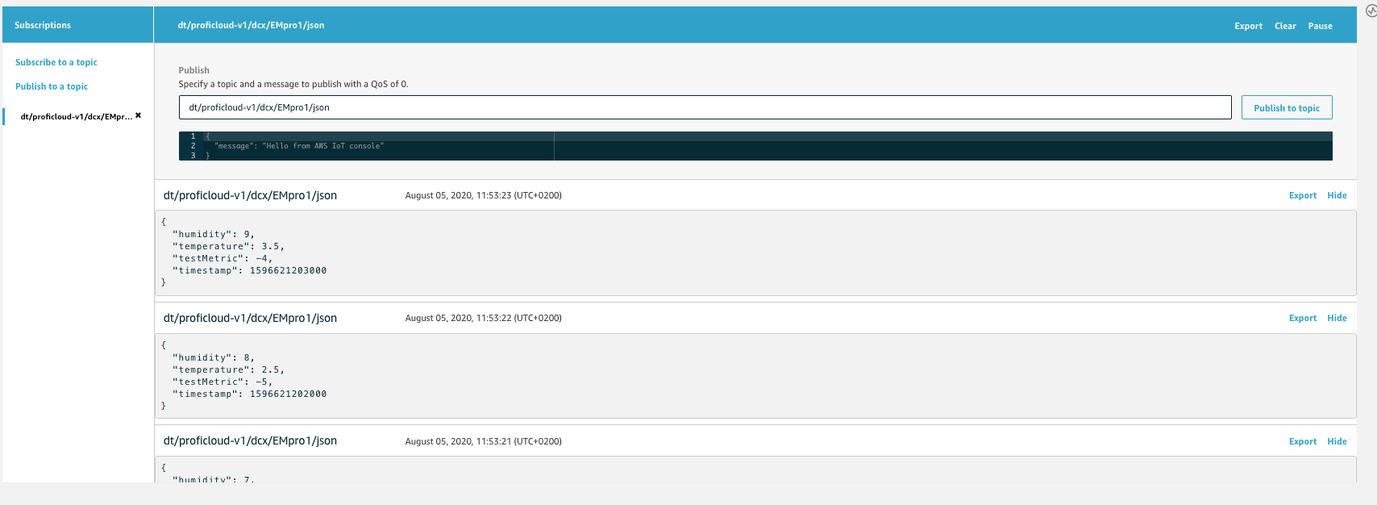
After this configuration and a restart of the device, it will send its Time Series Data (TSD) to AWS. You can check this by opening the Test page in the IoT Core and subscribing to the following topic:1 dt/proficloud-v1/dcx/<<device identifier>>/json
You can import the following flow as a reference implementation.
[{"id":"e73dae77.7b465","type":"tab","label":"Proficloud Reference","disabled":false,"info":""},{"id":"c386f827.16eb38","type":"ProficloudDevice","z":"e73dae77.7b465","uuid":"","deviceType":"NodeRED-Node","env":"Production","autostart":true,"autodelay":0,"meta_by_payload":false,"serialnumber":"","hardwareVersion":"","x":650,"y":500,"wires":[[]]},{"id":"2f7723f2.906d24","type":"function","z":"e73dae77.7b465","name":"","func":"msg = {};\nmsg.payload = {\"data\" : {\"humidity\": 12.0, \"temp\": 2.0}};\nreturn msg;","outputs":1,"noerr":0,"initialize":"","finalize":"","x":440,"y":280,"wires":[["c386f827.16eb38"]]},{"id":"788d6d09.2e35ec","type":"inject","z":"e73dae77.7b465","name":"","props":[],"repeat":"1","crontab":"","once":false,"onceDelay":0.1,"topic":"","x":220,"y":280,"wires":[["2f7723f2.906d24"]]},{"id":"60b2ef0a.8aed9","type":"comment","z":"e73dae77.7b465","name":"TimeSeriesData","info":"","x":180,"y":240,"wires":[]},{"id":"ee768abb.14ce08","type":"function","z":"e73dae77.7b465","name":"","func":"msg = {};\nmsg.payload = {\"trafficlight\": {\"color\": 0, \"msg\": \"Everything is okay\"}};\nreturn msg;","outputs":1,"noerr":0,"initialize":"","finalize":"","x":440,"y":420,"wires":[["c386f827.16eb38"]]},{"id":"11d12be5.0a1a34","type":"inject","z":"e73dae77.7b465","name":"","props":[{"p":"payload"},{"p":"topic","vt":"str"}],"repeat":"","crontab":"","once":false,"onceDelay":0.1,"topic":"","payload":"","payloadType":"date","x":220,"y":420,"wires":[["ee768abb.14ce08"]]},{"id":"ded8d7ba.28c2f","type":"comment","z":"e73dae77.7b465","name":"TrafficLight - Green","info":"","x":190,"y":380,"wires":[]},{"id":"c17f2af0.f833b8","type":"function","z":"e73dae77.7b465","name":"","func":"msg = {};\nmsg.payload = {\"log\": {\"level\": 2, \"tag\":\"Node-RED\",\"msg\": \"System started\"}};\nreturn msg;","outputs":1,"noerr":0,"initialize":"","finalize":"","x":440,"y":720,"wires":[["c386f827.16eb38"]]},{"id":"8a321346.644d7","type":"inject","z":"e73dae77.7b465","name":"","props":[{"p":"payload"},{"p":"topic","vt":"str"}],"repeat":"","crontab":"","once":false,"onceDelay":0.1,"topic":"","payload":"","payloadType":"date","x":220,"y":720,"wires":[["c17f2af0.f833b8"]]},{"id":"6f96f6c8.4315f8","type":"comment","z":"e73dae77.7b465","name":"Log","info":"","x":150,"y":680,"wires":[]},{"id":"726085a2.7b897c","type":"function","z":"e73dae77.7b465","name":"","func":"msg = {};\nmsg.payload = {\"trafficlight\": {\"color\": 1, \"msg\": \"Some warning\"}};\nreturn msg;","outputs":1,"noerr":0,"initialize":"","finalize":"","x":440,"y":500,"wires":[["c386f827.16eb38"]]},{"id":"36dbfce5.50a28c","type":"inject","z":"e73dae77.7b465","name":"","props":[{"p":"payload"},{"p":"topic","vt":"str"}],"repeat":"","crontab":"","once":false,"onceDelay":0.1,"topic":"","payload":"","payloadType":"date","x":220,"y":500,"wires":[["726085a2.7b897c"]]},{"id":"b2e339a0.6f9588","type":"comment","z":"e73dae77.7b465","name":"TrafficLight - Orange","info":"","x":190,"y":460,"wires":[]},{"id":"a86c7275.a4358","type":"function","z":"e73dae77.7b465","name":"","func":"msg = {};\nmsg.payload = {\"trafficlight\": {\"color\": 2, \"msg\": \"Fatal error\"}};\nreturn msg;","outputs":1,"noerr":0,"initialize":"","finalize":"","x":440,"y":580,"wires":[["c386f827.16eb38"]]},{"id":"2f33ea50.4da396","type":"inject","z":"e73dae77.7b465","name":"","props":[{"p":"payload"},{"p":"topic","vt":"str"}],"repeat":"","crontab":"","once":false,"onceDelay":0.1,"topic":"","payload":"","payloadType":"date","x":220,"y":580,"wires":[["a86c7275.a4358"]]},{"id":"4a0ad995.ab5d6","type":"comment","z":"e73dae77.7b465","name":"TrafficLight - Red","info":"","x":180,"y":540,"wires":[]},{"id":"6a408571.4f517c","type":"comment","z":"e73dae77.7b465","name":"Reference implementation","info":"This is an example flow to show the capabilities of the ProficloudDevice-Node.\nThe inject->function combination can be replaced by the way you like to connect your application. You can also use one of the pre configured Nodes for PxC devices. Just install [this](https://www.npmjs.com/package/node-red-contrib-phoenix-contact).","x":150,"y":180,"wires":[]}]